
Radial designs start from a central point and radiate out like the spokes of a wheel or the rays of the sun. Radial designs build upon patterning concepts and skills. However, they are more difficult to create than patterns since the position and spatial orientation of the lines and shapes change in each section of the design.
To create a radial design is to play with the intersection of one’s own inventive ideas and a set of rules.

When creating radial designs, students develop and practice:
radial design
number
position
alternate
grouping
direction
spacing
placement

What is a radial design? How could you make one?
Look for radial designs on plates, platters, and jewelry, as well as in flowers, on clothing, and in machine parts and the built environment. Show an example of a radial design. Ask students to point out and name elements that repeat – lines, shapes, markings, colors.
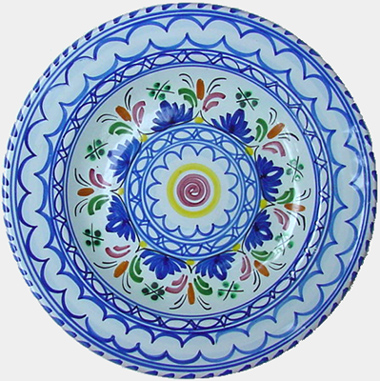
De La Cal Barreira, Spain
Many radial designs appear complicated, but when you look closely, you will see that the elements are really just basic lines and shapes. It is the number of elements and the way they are placed that make them look so complex.

Demonstrate the directions for getting started. Discuss the variables of direction, position, and number – as you demonstrate. Build on suggestions from your students.
As she demonstrates, the teacher discusses the variables of direction, position, and number that the children also used when creating patterns.
Just show enough to give students an idea of how to begin.
Remind students that these are the same variables they used to create patterns – but more challenging.

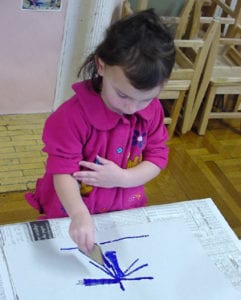
Step 1 – Watch 3rd & 4th Graders Print Radial Designs
*Notice the sequence in which the teacher changes the materials.
Consider adding the small straight line tool or a found object.
Let students know that creating radial designs is challenging. Ask why this might be difficult, and explore ways to stay on track (turning the paper, stepping back to look before you print).

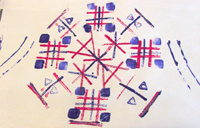
Pattern to Radial
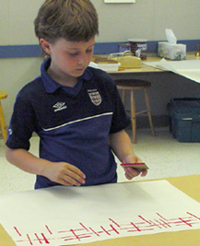
Dylan (age 8) builds upon the design configuration that he developed while printing a pattern.
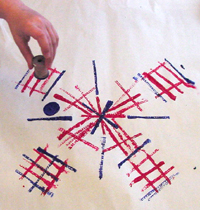
Found objects, added at the very end, embellish radial designs and add contrast.
Kevin (age 8) and Taylor (age 8)

Developmentally, age 3-5 is known as the Design Stage. Line printing is a medium that allows children to further their design explorations.
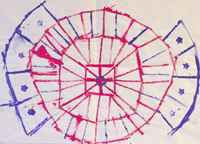
During her first experience with line printing, Olivia (age 3) created this beautiful radial design. She said, “It’s a Ferris wheel.”
While printing patterns for the first time, Abby (age 5) printed a radial design between her two line patterns. She figured out how to do this by herself and taught other children how to do it as well.
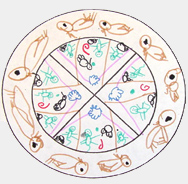
Draw a Radial Design
Create a template and photocopy
Getting started:
Create a Radial Design from Found Materials
Create a Radial Design or Mandala with natural materials or found objects.